Your SharePoint folder
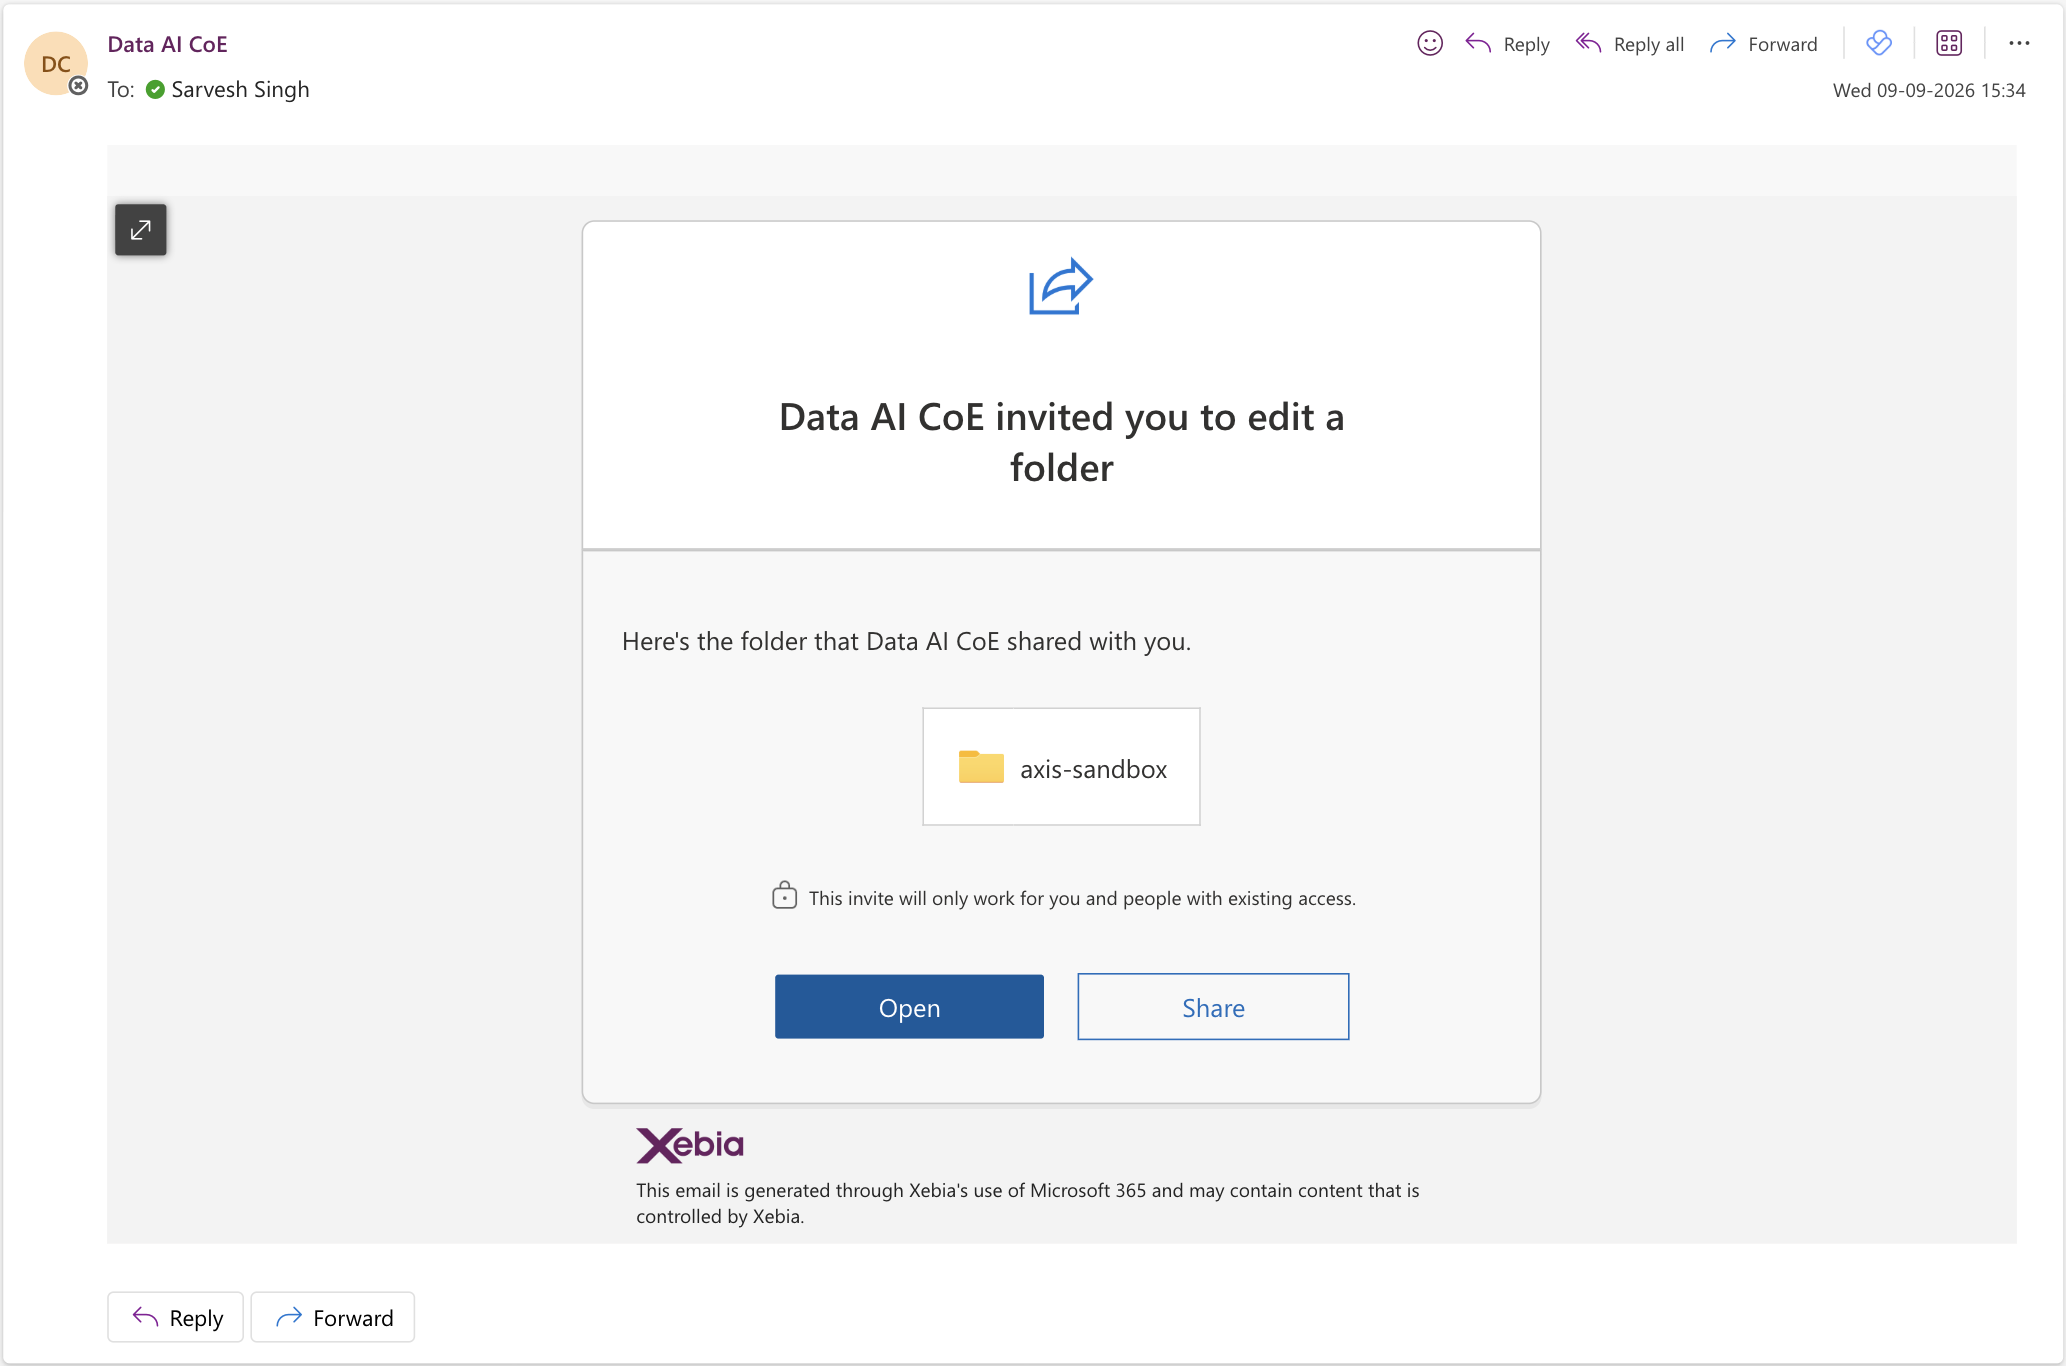
Before you can upload or download, a platform admin sets up your personal folder. They create a folder named after your email address (for example axis-sandbox/jane.doe@xebia.com) and share edit access to that folder — and only that folder with you.
You'll receive an email invitation. Open it to reach the folder you'll use to upload inputs and download outputs. You can only see your own folder, not anyone else's.
1Sign in
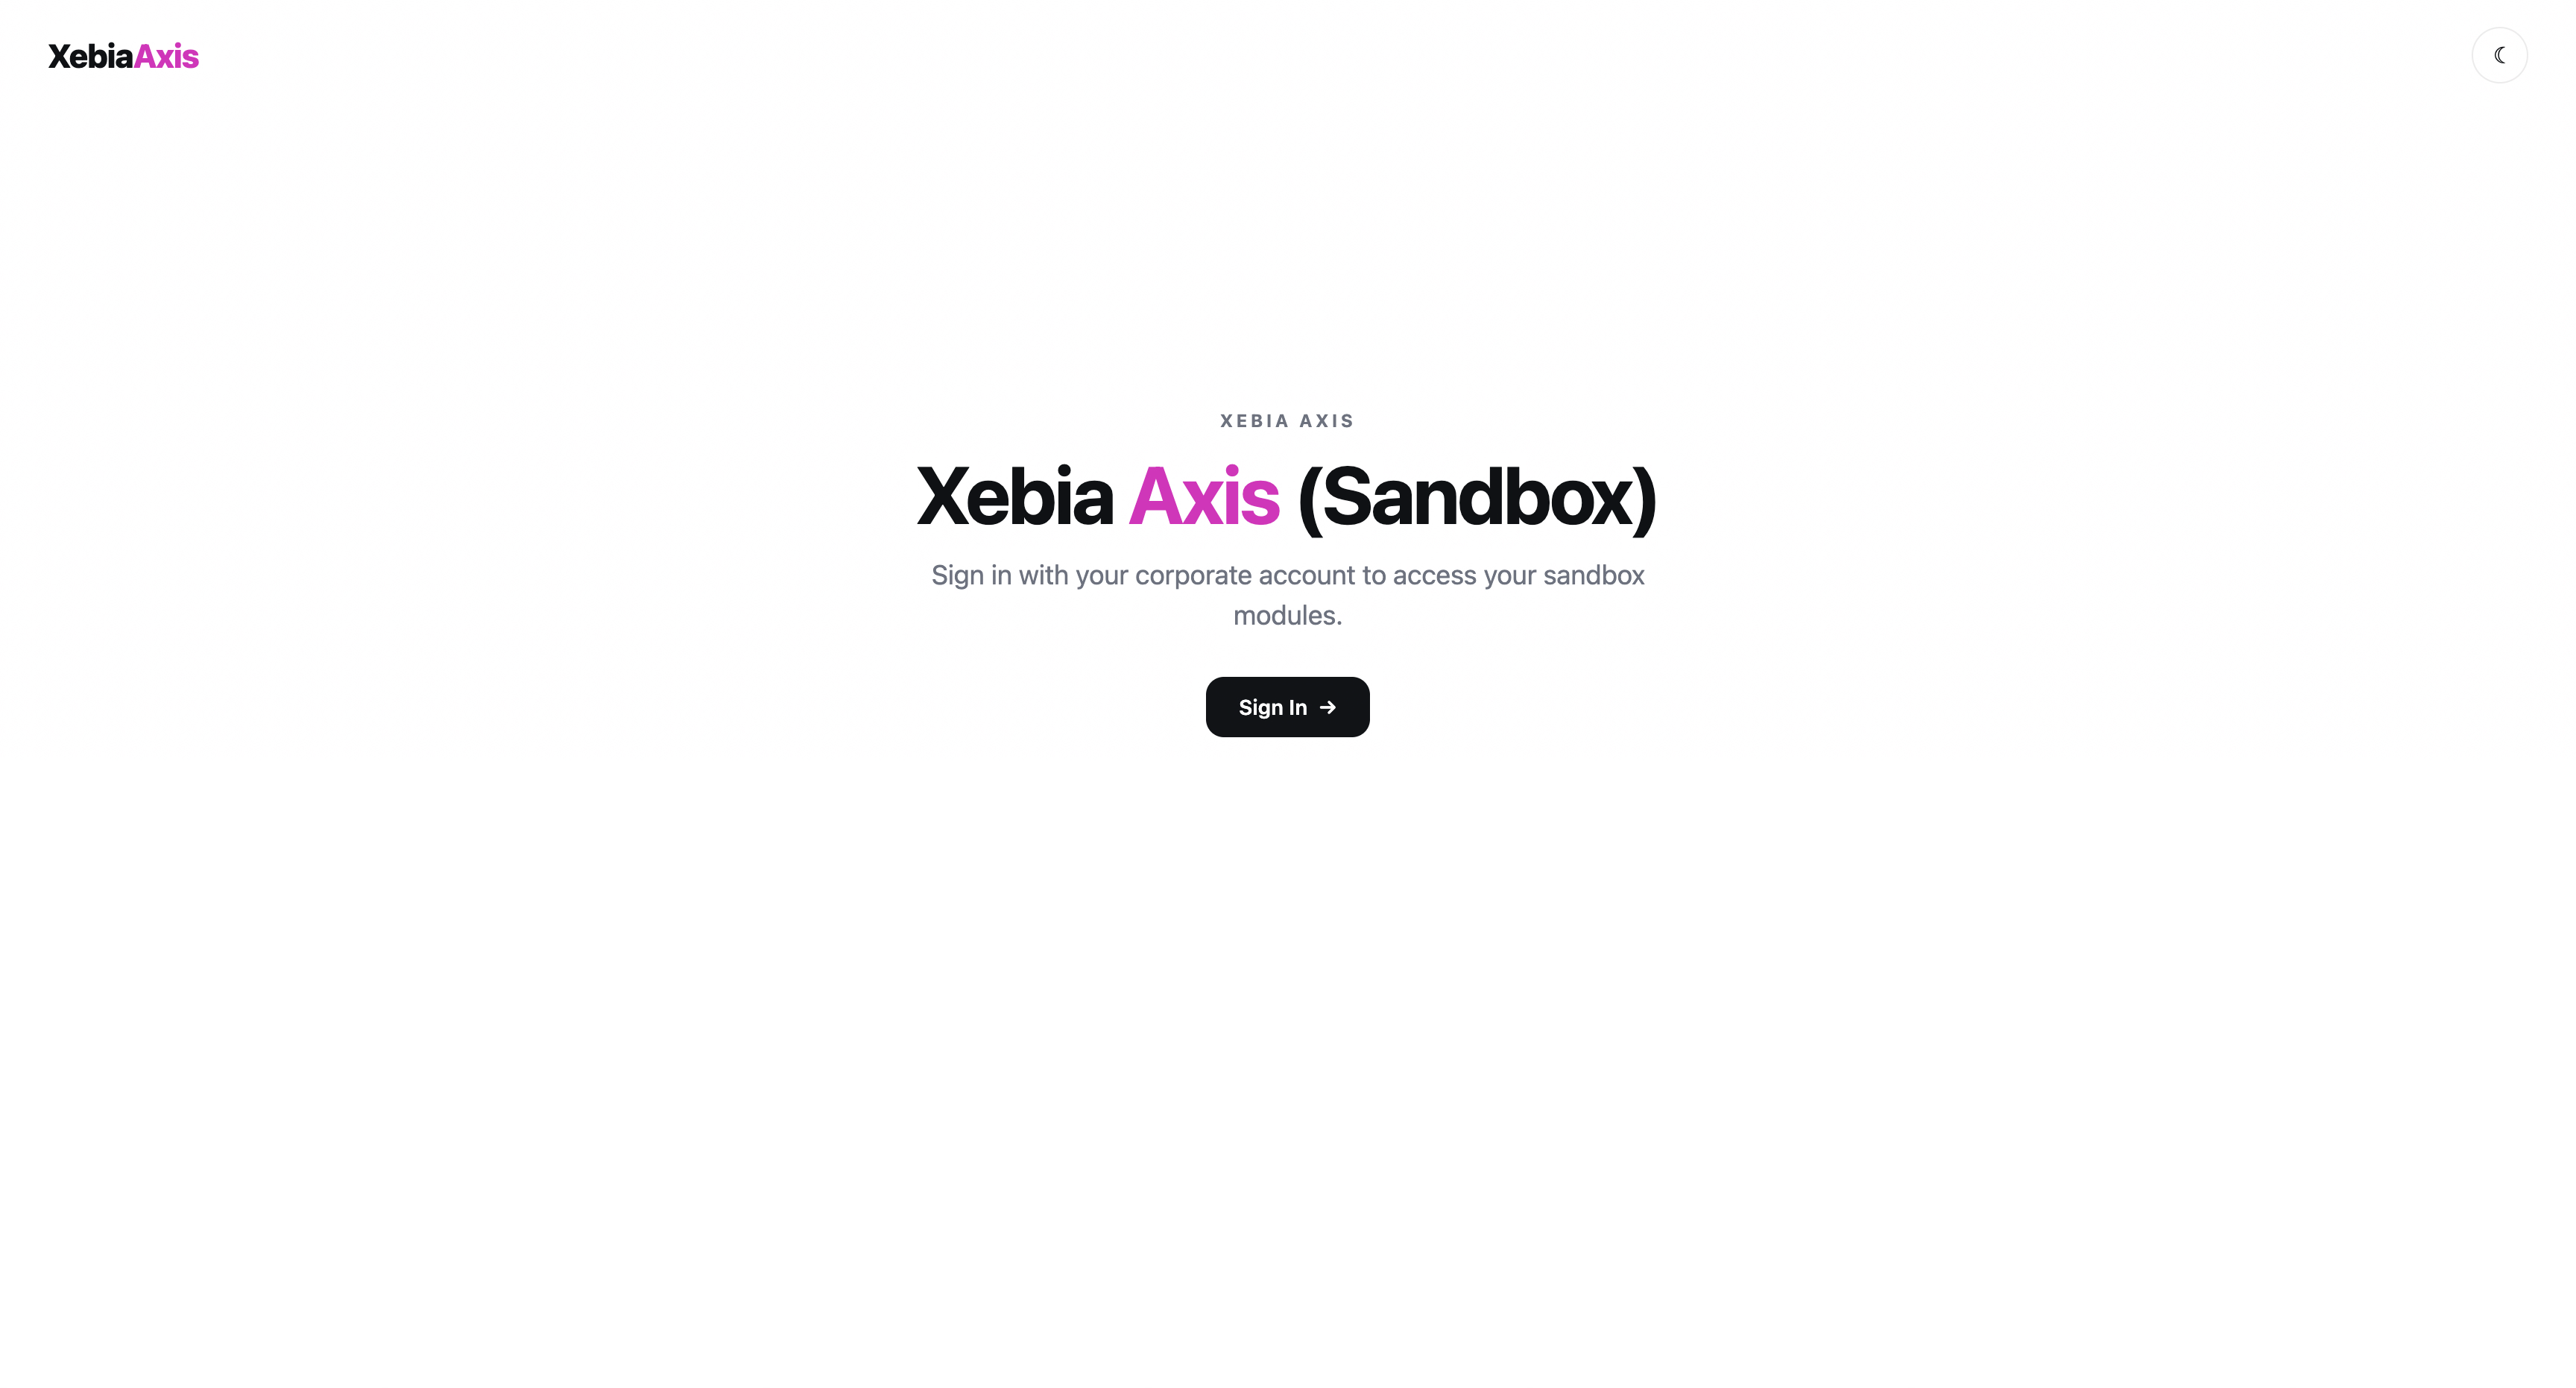
Open the portal and click Sign In with your corporate account.
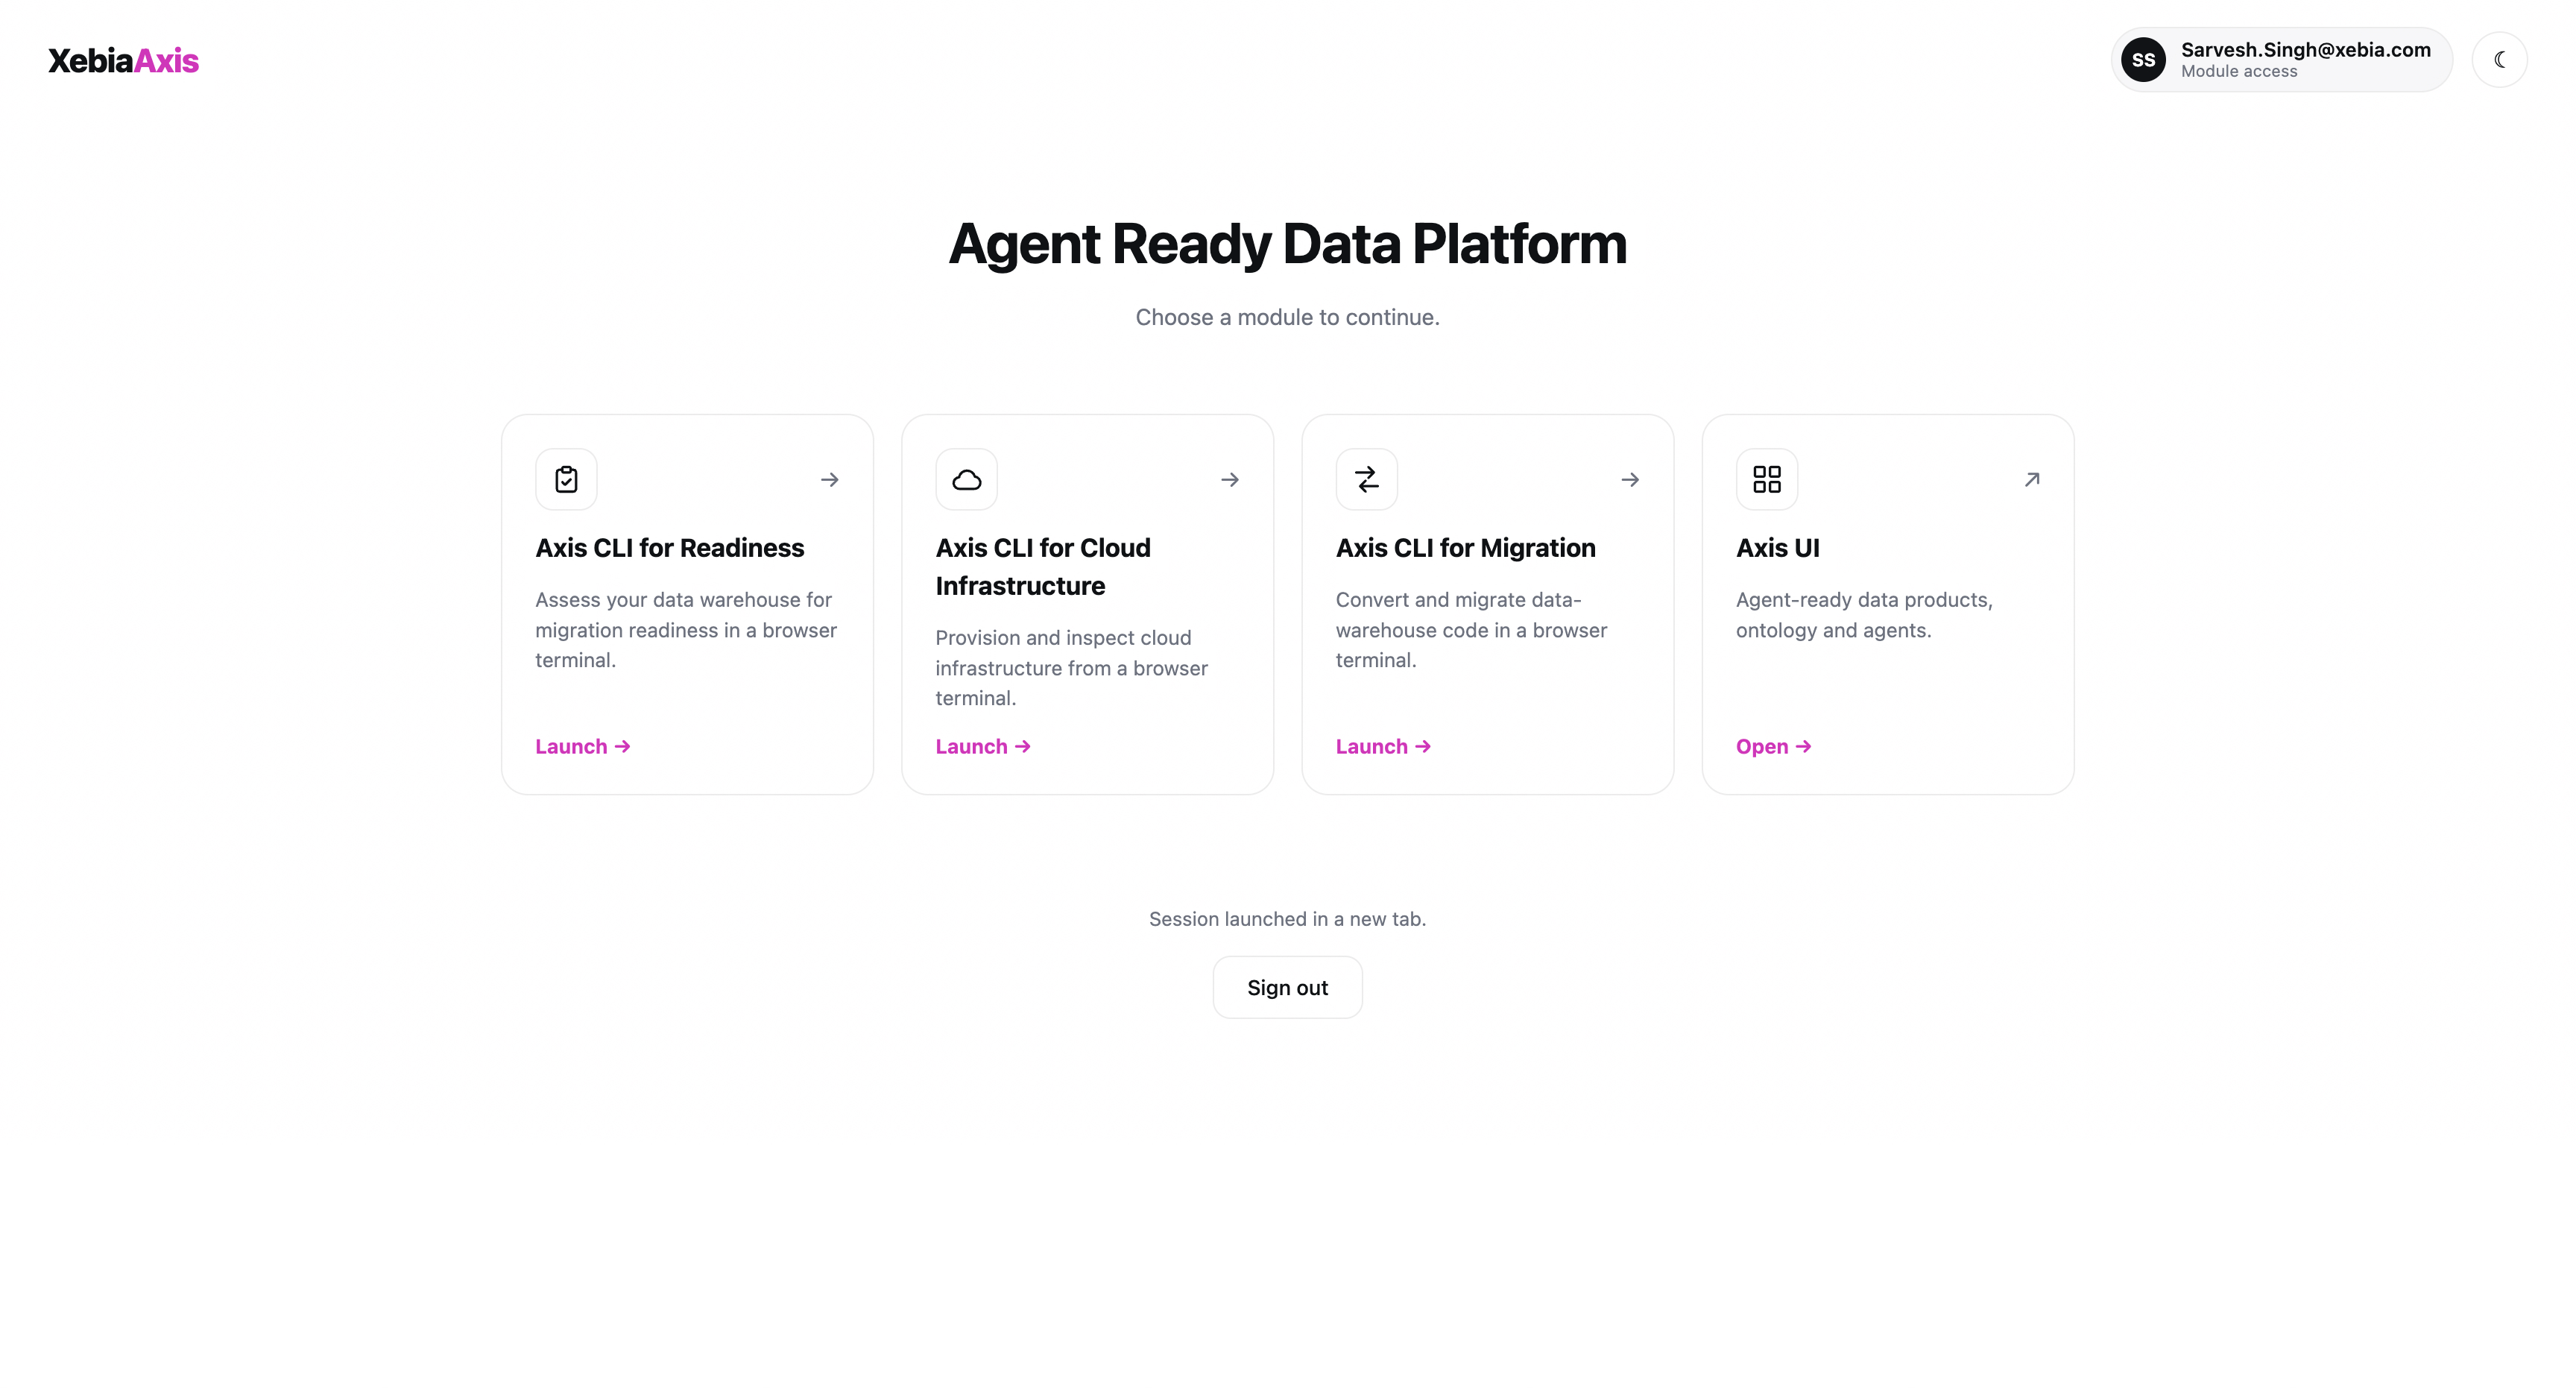
2Choose a module
Pick a CLI module — Readiness, Cloud Infrastructure, or Migration. A terminal opens in a new tab. (Axis UI opens the separate Axis app instead.)
3Upload input and sync it in
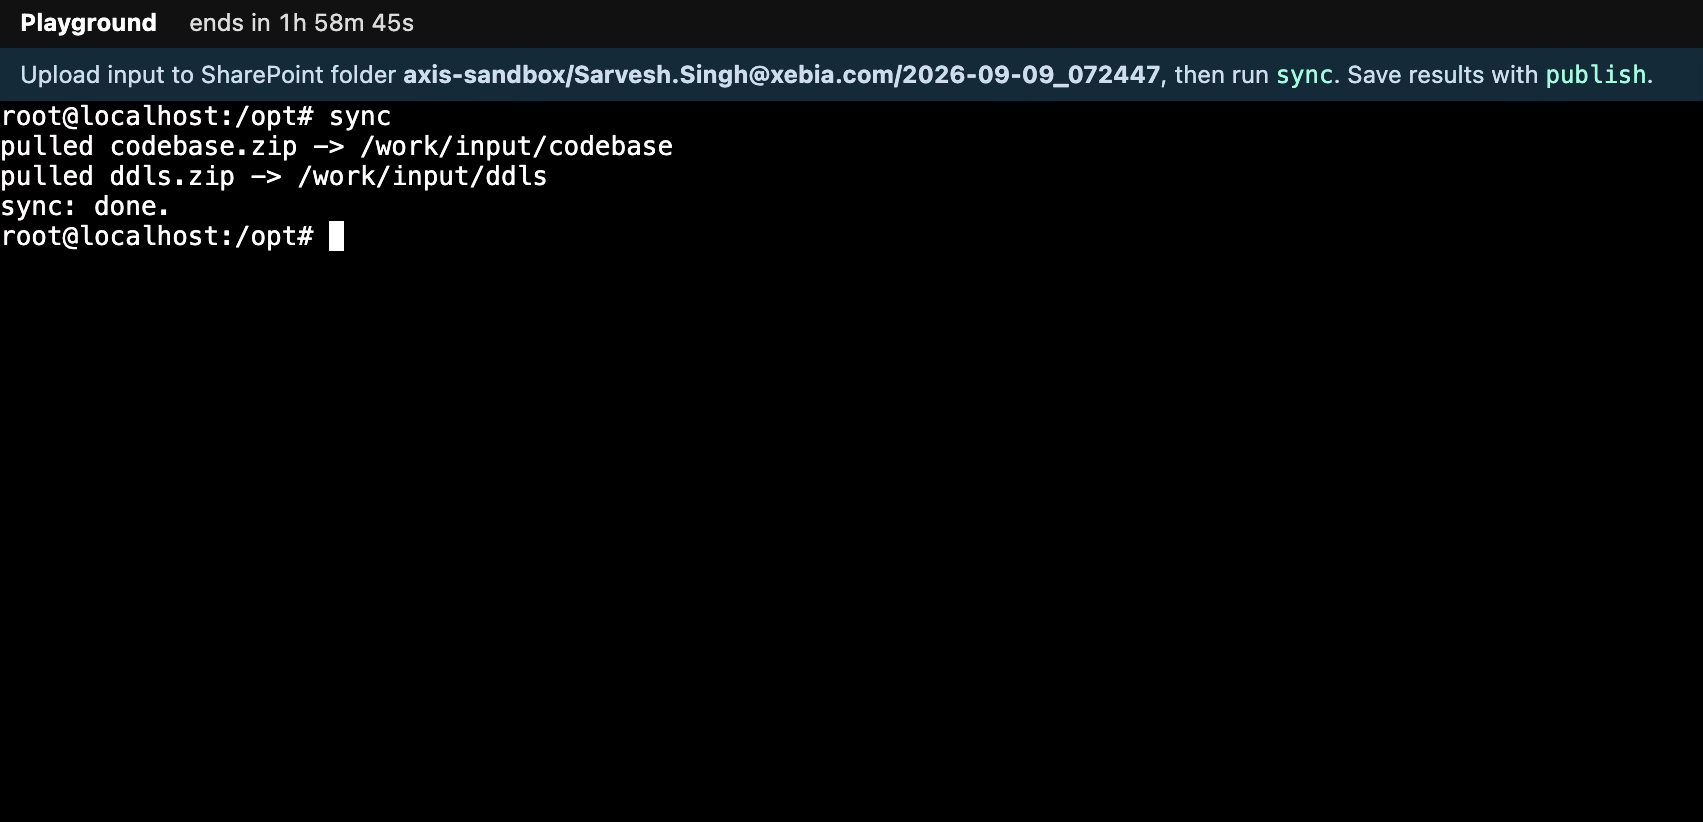
The terminal shows your session folder (e.g. axis-sandbox/<your-email>/2026-09-08_143205). Upload your code as .zip files to that folder in SharePoint, then run:
This pulls every .zip into /work/input/. Uploaded more later? Run sync again.
4Set your key
export ANTHROPIC_API_KEY=sk-ant-…your-key…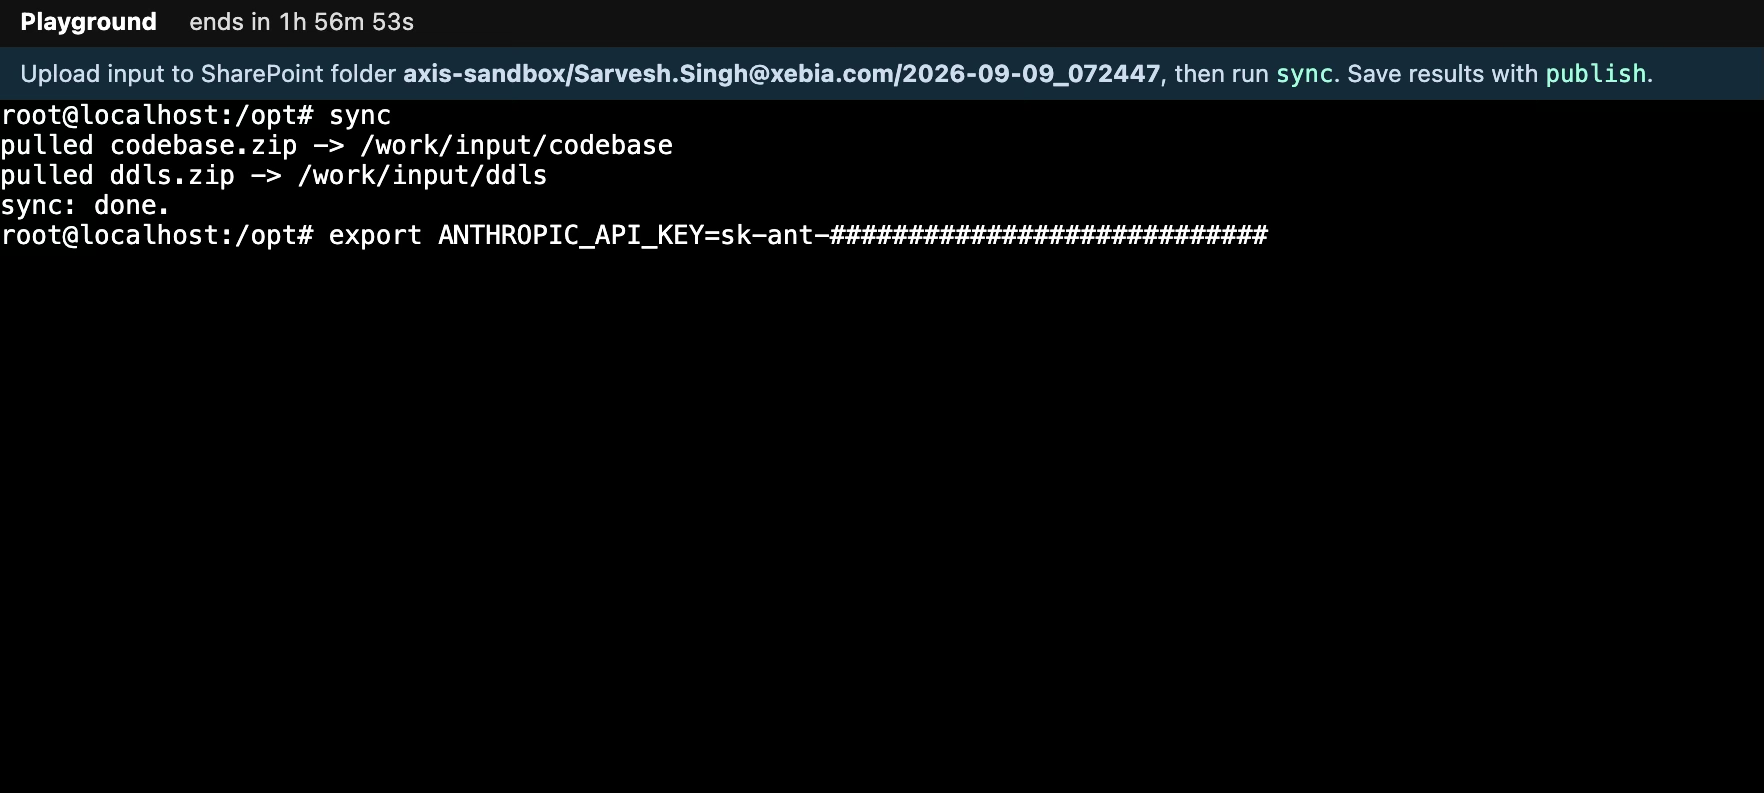
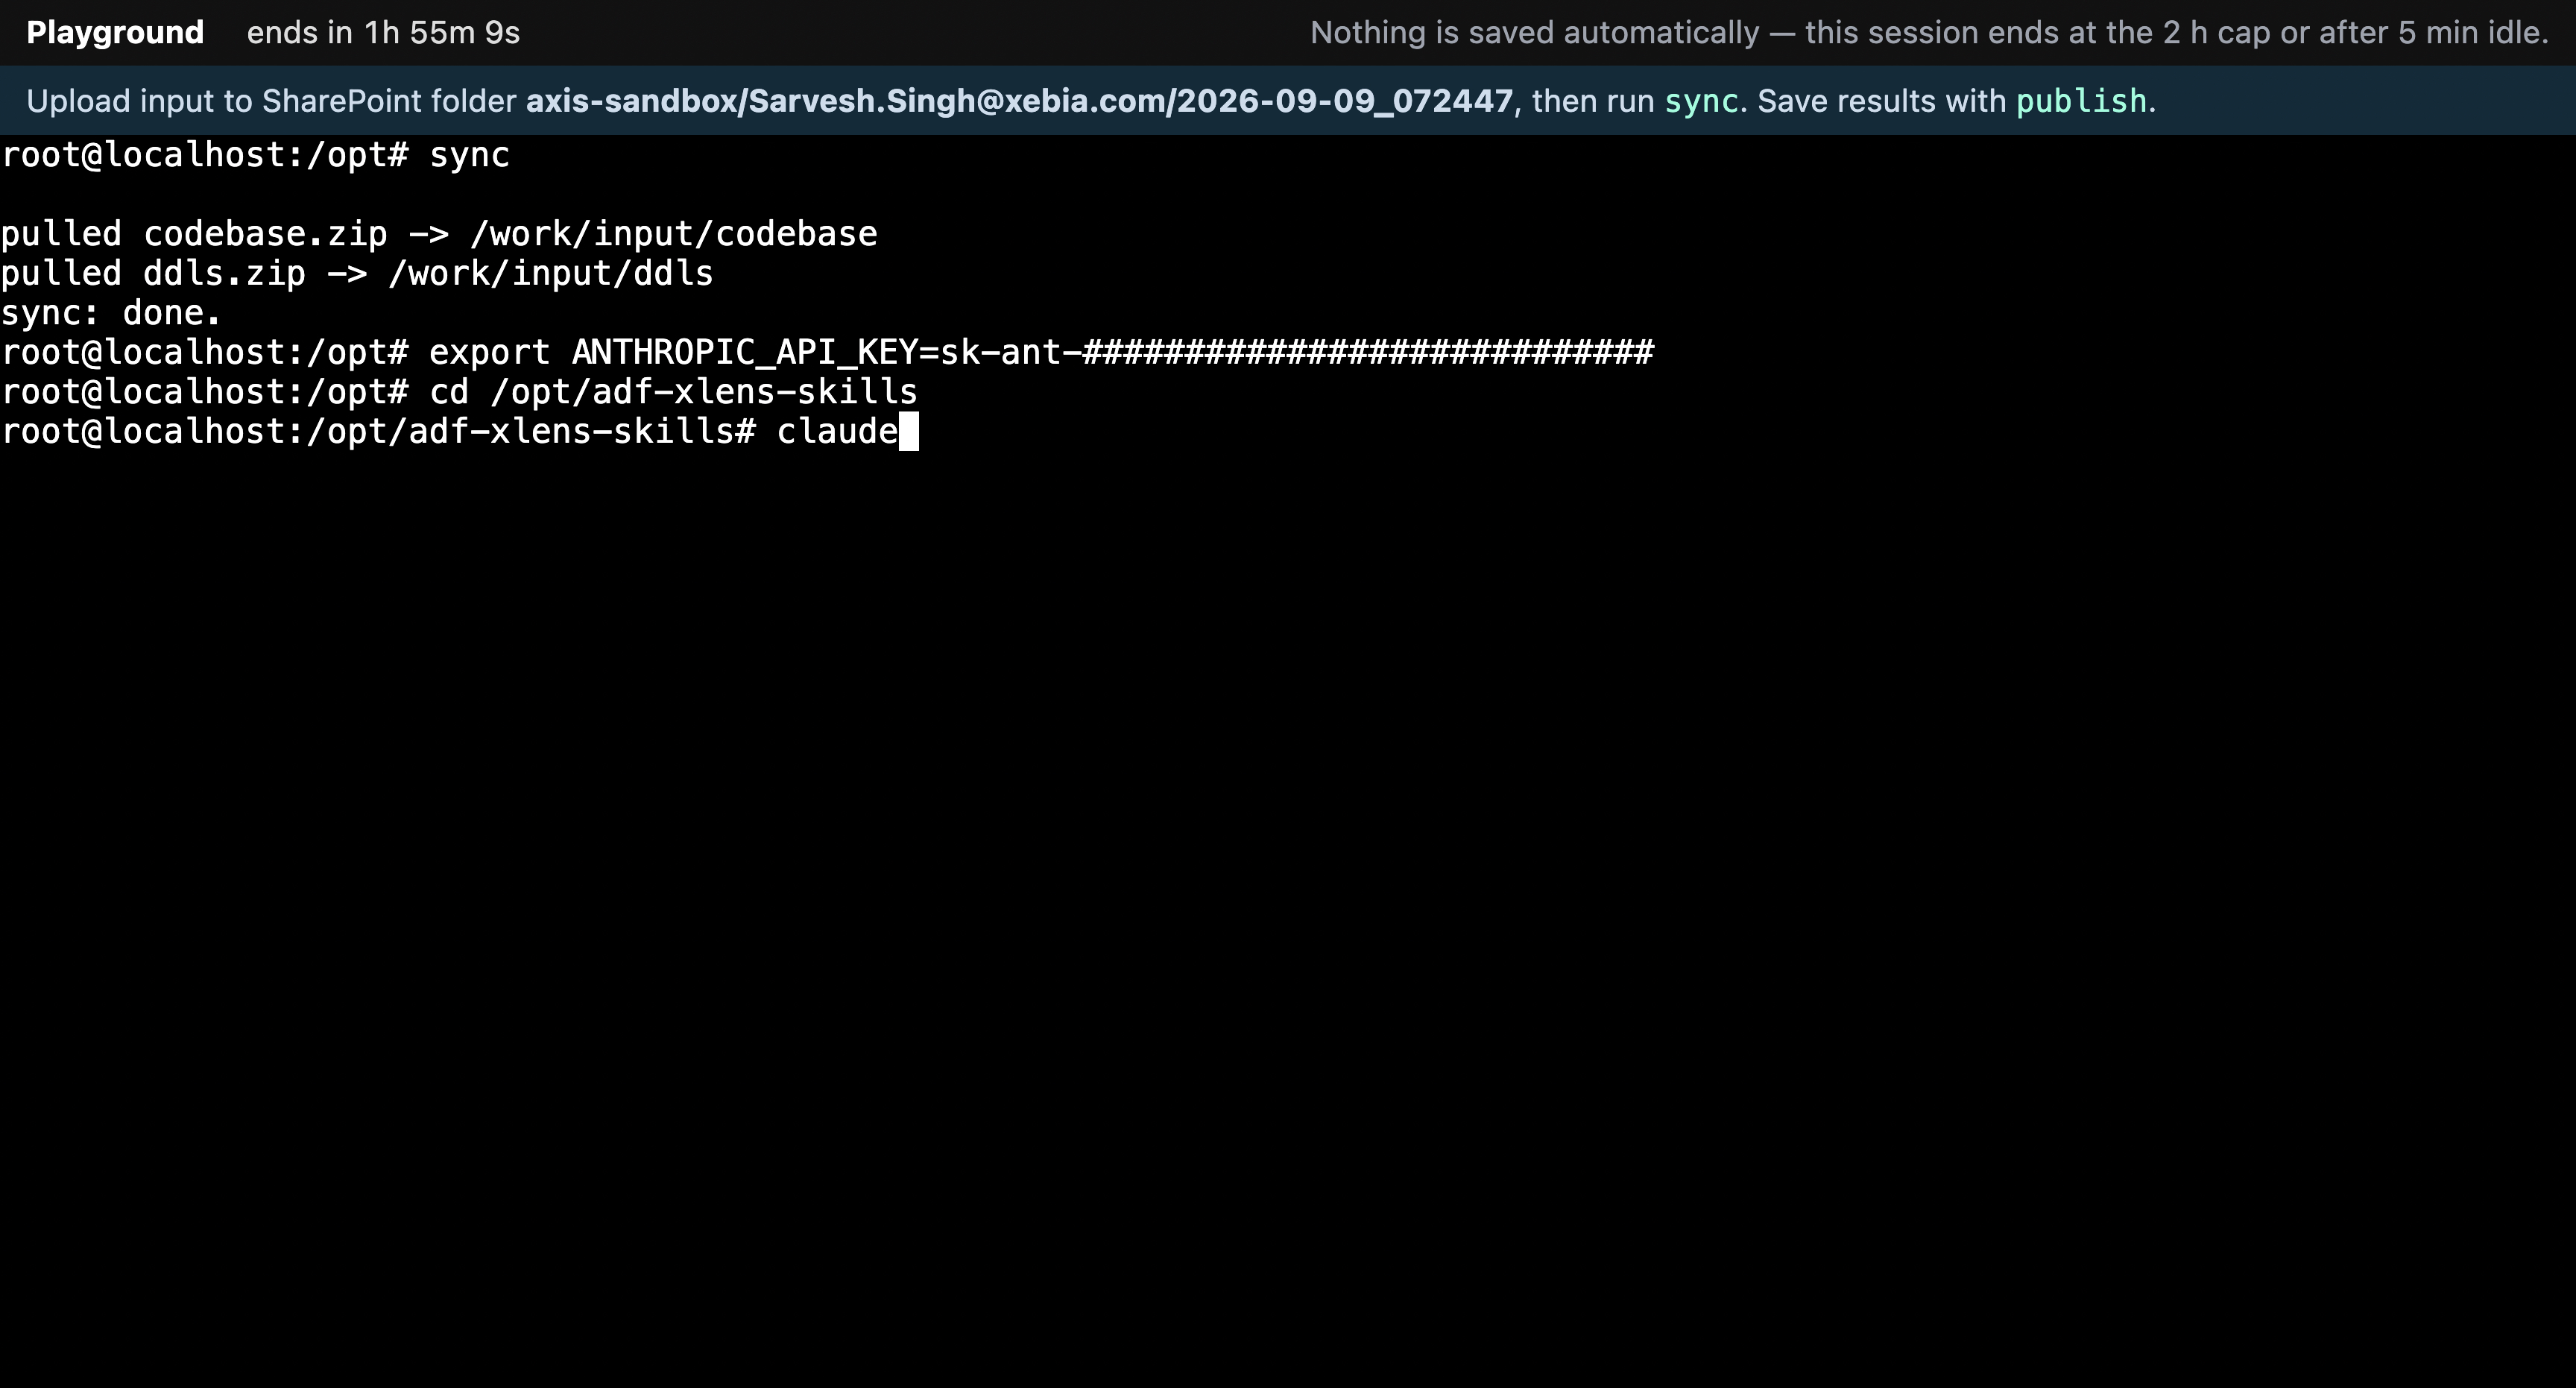
5Run the pipeline
Analyse with the readiness repo, then convert with the migration repo (tell it to use the readiness results):
cd /opt/adf-xlens-skills claude # ask it to run over your input in /work/input cd /opt/adf-xport-skills claude # ask it to convert, referring to the readiness resultsWhen you want to keep results, ask Claude to write them to /work/output/ — no need to move files by hand.
6Save your results
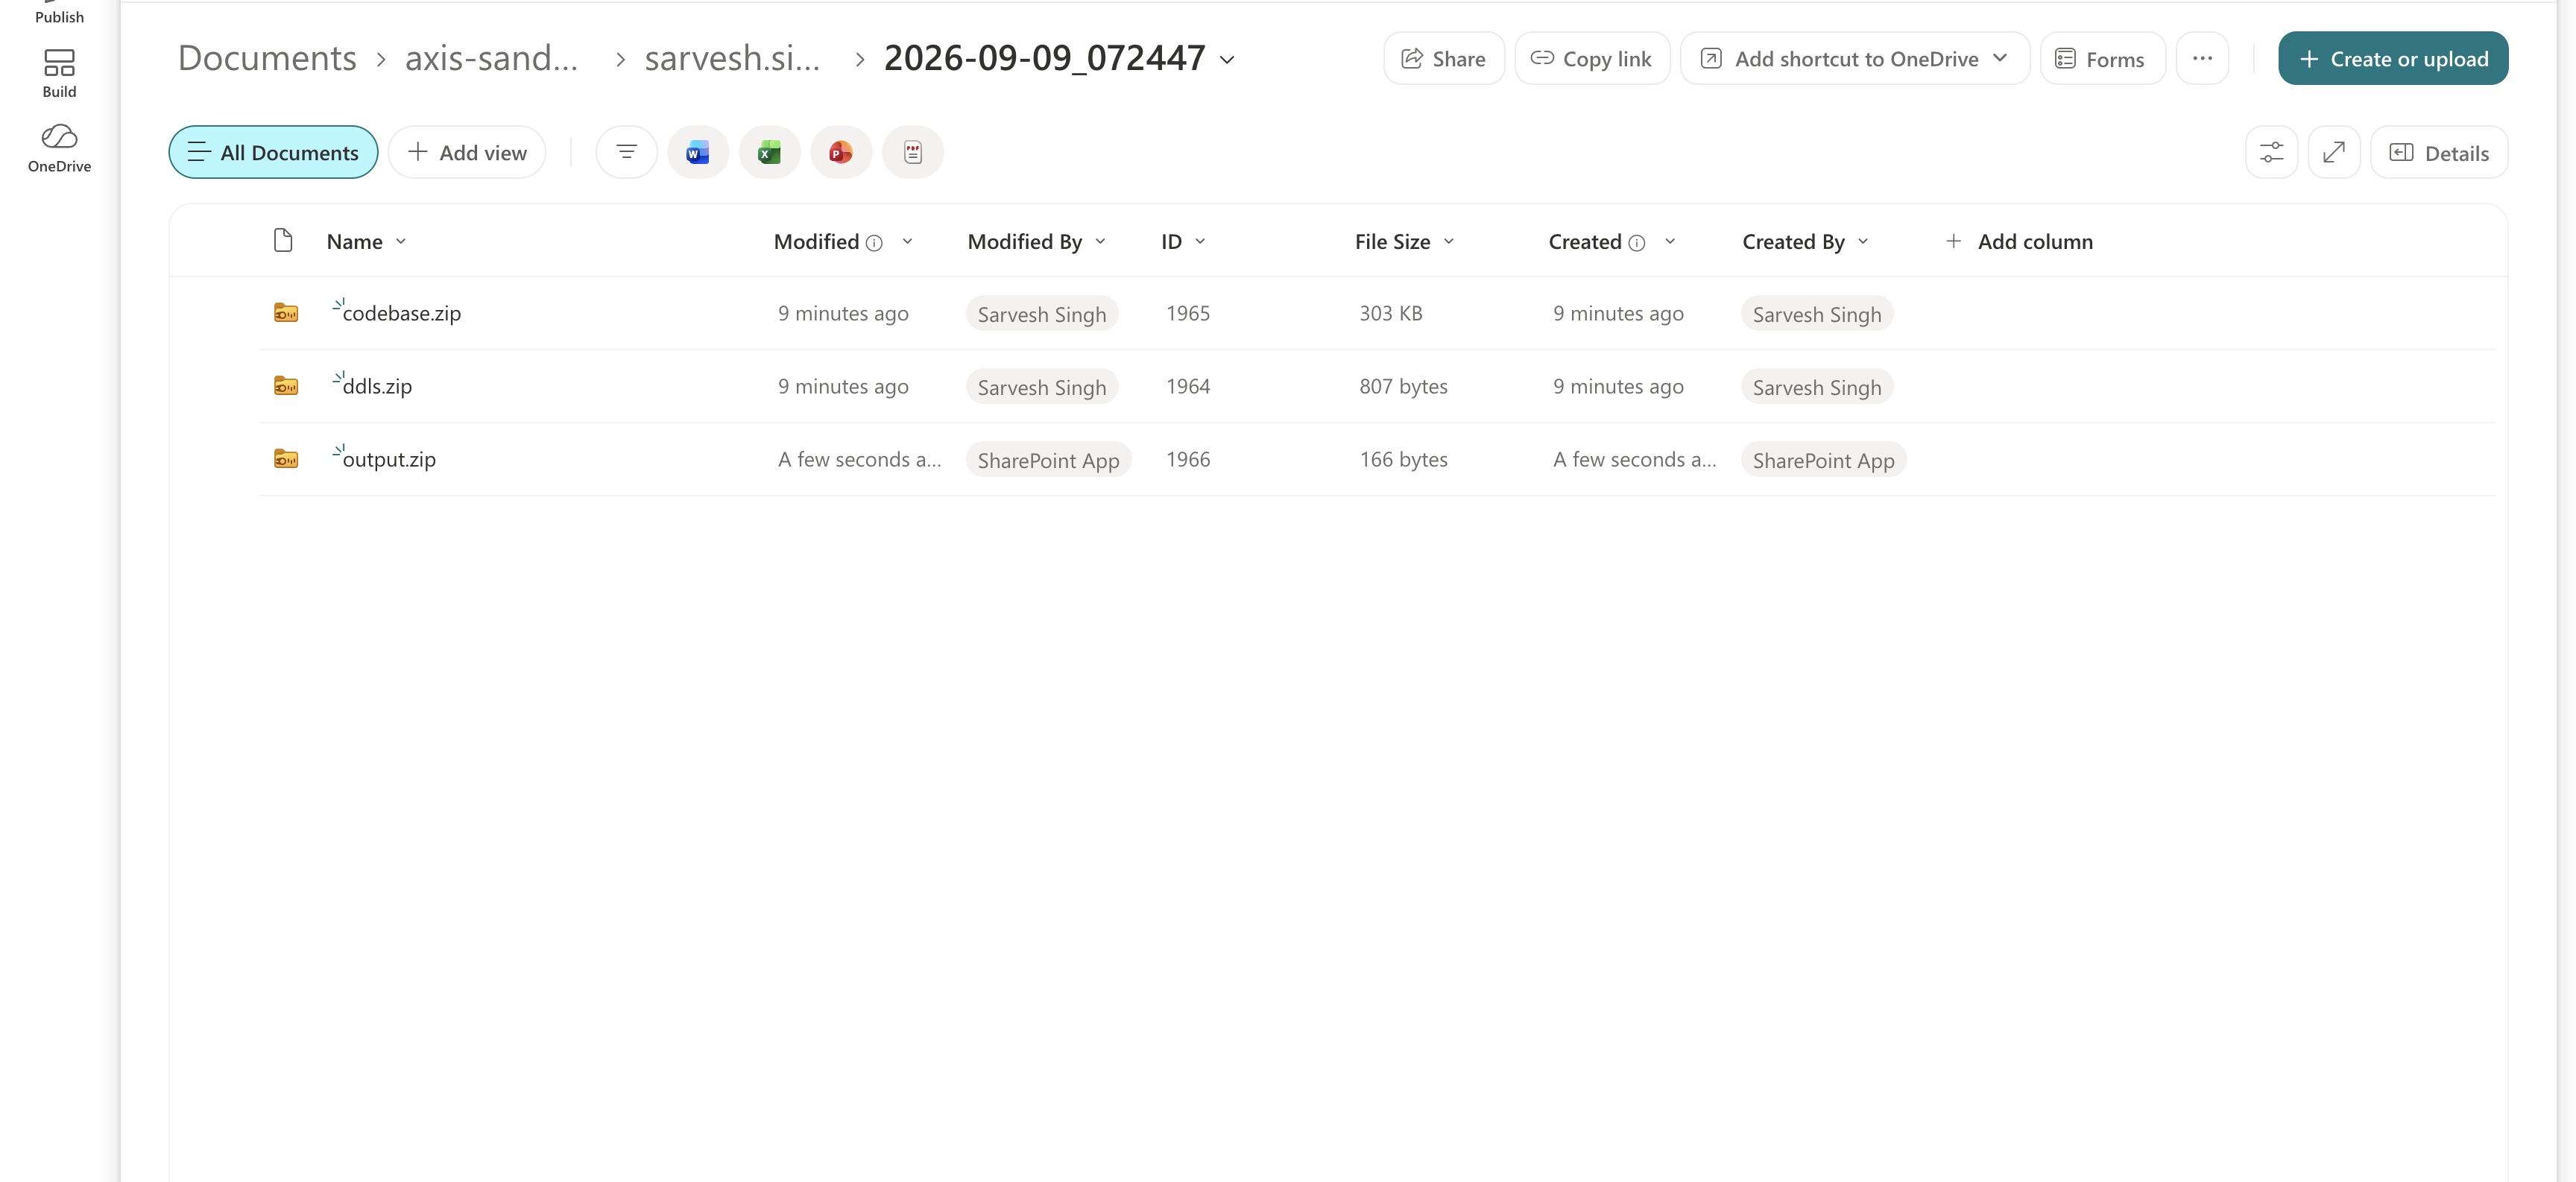
Nothing is saved automatically. When you're happy, run:
publishThis uploads /work/output as output.zip into the same session folder — alongside your inputs.
✓Good to know
Sessions last up to 2 hours and end after 5 minutes idle (a banner warns you first). Closing the tab ends the session and clears its files — publish first if you want to keep anything. One session at a time per person; launching again starts a fresh one.